
August 27, 2026 · Anaheim Cell Phone Repair Blog
Phone Camera Won’t Focus? Safe Checks Before Repair
A blurry phone camera can come from a dirty lens, an obstructing accessory, software, impact damage, or a failing camera module. Start with these safe checks before arranging repair.
First, identify what kind of blur you are seeing
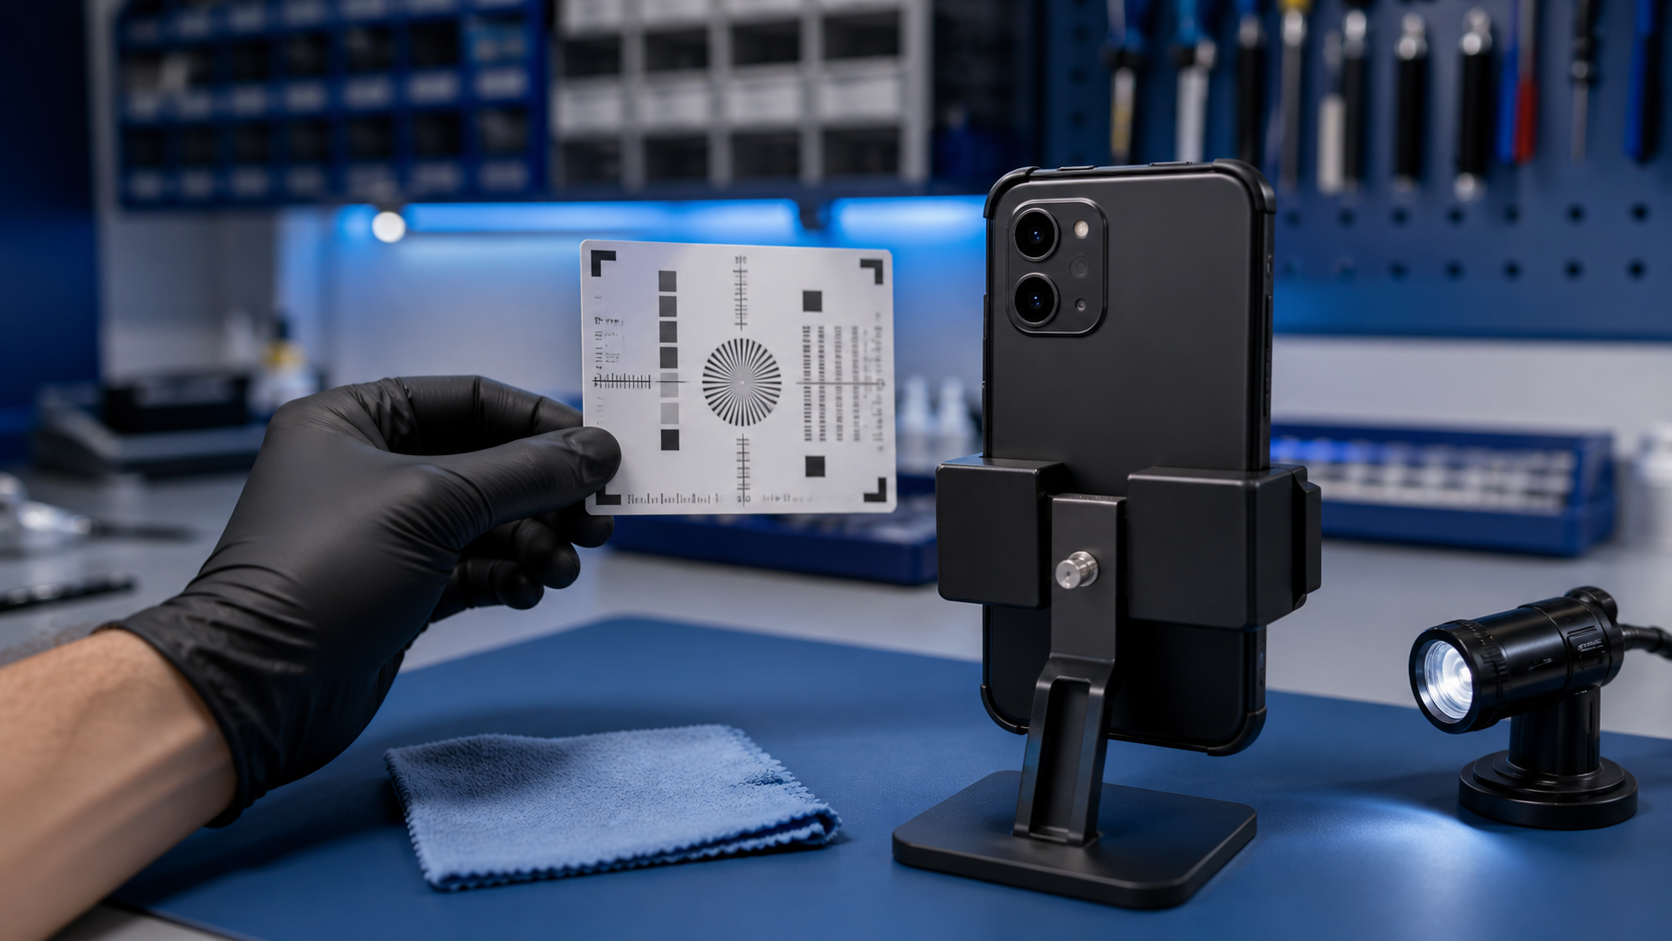
A camera that never becomes sharp is different from a camera that only struggles in a dark room or with a moving subject. Start in bright, even light and photograph a stationary object with clear edges, such as a book cover or printed page. Hold the phone steady, tap the subject on the screen, and give the camera a moment to focus.
Notice whether the problem affects every photo or only close-up shots. Also check whether the preview looks blurry before you press the shutter. If the preview is sharp but the saved photo is not, motion, processing, or an app-specific problem may be involved. If the preview constantly pulses between sharp and blurry, the focus system may be hunting for a subject or struggling with an obstruction.
Remove anything that can block or disturb the camera
Take off the case and remove any camera-lens cover, magnetic mount, clip-on lens, or film that overlaps the camera area. Even a clear protector can create haze, reflections, or flare when dust and moisture collect around its edges. Test the camera again without those accessories.
Look closely at the camera glass under a bright light. A crack, deep scratch, condensation behind the glass, or a lens cover that has shifted out of place will not be fixed by changing a setting. Avoid pressing on damaged glass or trying to pry off a camera cover with a sharp tool.
Clean the outside of the lens gently
Apple and Google both recommend starting blurry-camera troubleshooting by cleaning the exterior camera lens with a soft, clean cloth. Use a dry microfiber cloth and wipe gently. Do not apply household cleaner directly to the phone, push liquid around the camera opening, or use an abrasive towel that can mark the glass.
After cleaning, repeat the same bright-light test. This matters because fingerprints can create a soft glow around lights while fine dust can reduce contrast enough to make autofocus seem unreliable.
Compare the cameras and camera modes
Switch between the front and rear cameras. If your phone has several rear lenses, test the standard view and available zoom choices in the built-in camera app. A problem limited to one lens is useful information for a technician; a problem affecting every camera may point toward software, settings, or a wider device issue.
Test the original camera app before judging the result from a social-media, messaging, banking, or document-scanning app. Third-party apps can use different processing or may need their own update. If the built-in app is clear but one other app is blurry, check that app’s permissions and updates before assuming the camera hardware has failed.
Restart and install available updates
If the phone is dry, physically intact, and not unusually hot, restart it normally and test the built-in camera again. Install current system and camera-app updates offered through the phone’s normal settings or app store. Restarting and updating are standard steps in current Apple and Google camera troubleshooting guidance.
Do not erase the phone or reset every setting as a first step. A reset can add work without helping if the camera glass, stabilizer, focus mechanism, connector, or camera module was damaged.
Signs that the phone should be inspected
Arrange a professional diagnosis when the camera stays blurry after the basic checks, cannot focus in good light, repeatedly shakes or clicks, shows a black preview, or stopped working after a drop or liquid exposure. A camera that works only at one zoom level or only on the front may also need model-specific inspection.
Bring a few sample photos if the problem is intermittent. Note which camera or zoom setting was used, the lighting, and whether the behavior began after an impact, an update, or accessory change. Those details can shorten the path from “the camera looks wrong” to a focused diagnosis.
For Anaheim and Orange County customers, our phone camera and lens repair page explains the service path for blurry photos, damaged lens glass, and cameras that will not focus. You can also book a repair and bring the phone in with the examples you captured.
Protect your data before the visit
When the phone is stable enough to use, make a current backup before service. Keep your screen passcode available if functional testing is needed, but do not share account passwords. Remove personal cases, cards, and detachable camera accessories unless one of those accessories appears to cause the problem.
A clear diagnosis should separate an external obstruction or software issue from physical camera damage before repair work begins. The goal is to understand which camera is affected and what changed—not to replace parts by guesswork.