
September 9, 2026 · Anaheim Cell Phone Repair Blog
Phone Says No SIM or Invalid SIM? What to Check
A No SIM or Invalid SIM alert can come from the carrier account, eSIM setup, physical SIM, tray, settings, or phone hardware. Use these safe checks to narrow it down.
Read the exact message before changing anything
“No SIM,” “Invalid SIM,” “SIM not supported,” and “No Service” are not interchangeable. A No SIM alert usually means the phone is not detecting an active physical SIM or eSIM profile. No Service, SOS, or weak bars can mean the phone sees the SIM but cannot register normally on the carrier network.
Write down the exact alert and when it appears. Does it stay on the screen, disappear after a restart, or return when the phone moves? Did it begin after changing carriers, transferring an eSIM, installing an update, dropping the phone, or opening the SIM tray? That history helps separate an account or setup issue from a damaged card, tray, reader, or internal connection.
Confirm the carrier account and local service first
Make sure the wireless line is active and that there is no carrier outage or account hold. If another phone on the same carrier and in the same location also has no service, the phone may not be the cause. Carrier support can confirm the line status, current outage information, device compatibility, and whether a SIM-protection feature is blocking activation on a new phone.
If you recently moved a number, changed carriers, replaced a phone, or restored a backup, ask the carrier whether the physical SIM or eSIM was fully activated. A phone repair cannot activate a carrier account, and replacing parts will not correct an unfinished number transfer.
Restart and check official updates
Restart the phone normally when it is dry, physically intact, and not unusually hot. A temporary software or network-registration problem can clear after a restart. You can also briefly turn Airplane Mode on and back off to make the phone attempt a fresh network connection.
Install system and carrier-settings updates offered through the phone’s normal settings. Apple’s current No SIM guidance specifically recommends checking for a carrier-settings update, while Samsung notes that menu names can vary by model and software version. Avoid third-party “signal booster” or “SIM repair” apps; they cannot repair a damaged tray or cellular reader and may request unnecessary access.
Do not erase the phone or reset every setting as the first response. A network-settings reset can remove saved network configuration and may require setup afterward. Use that step only after reading the phone manufacturer’s instructions for your exact model and understanding what will be cleared.
Treat eSIM and physical SIM problems differently
An eSIM is a carrier profile stored on the phone, so there may be no card or tray to inspect. If the alert began during an eSIM transfer or activation, contact the carrier before deleting the profile. Removing an eSIM can leave the line unavailable until the carrier issues or reactivates the correct profile.
Physical-SIM support also varies by phone, region, and model. Google’s current Pixel documentation, for example, notes model-specific physical-SIM and eSIM differences. Confirm your exact model before looking for a tray; never assume a small opening is the SIM-eject hole.
Inspect a physical SIM only when it is safe
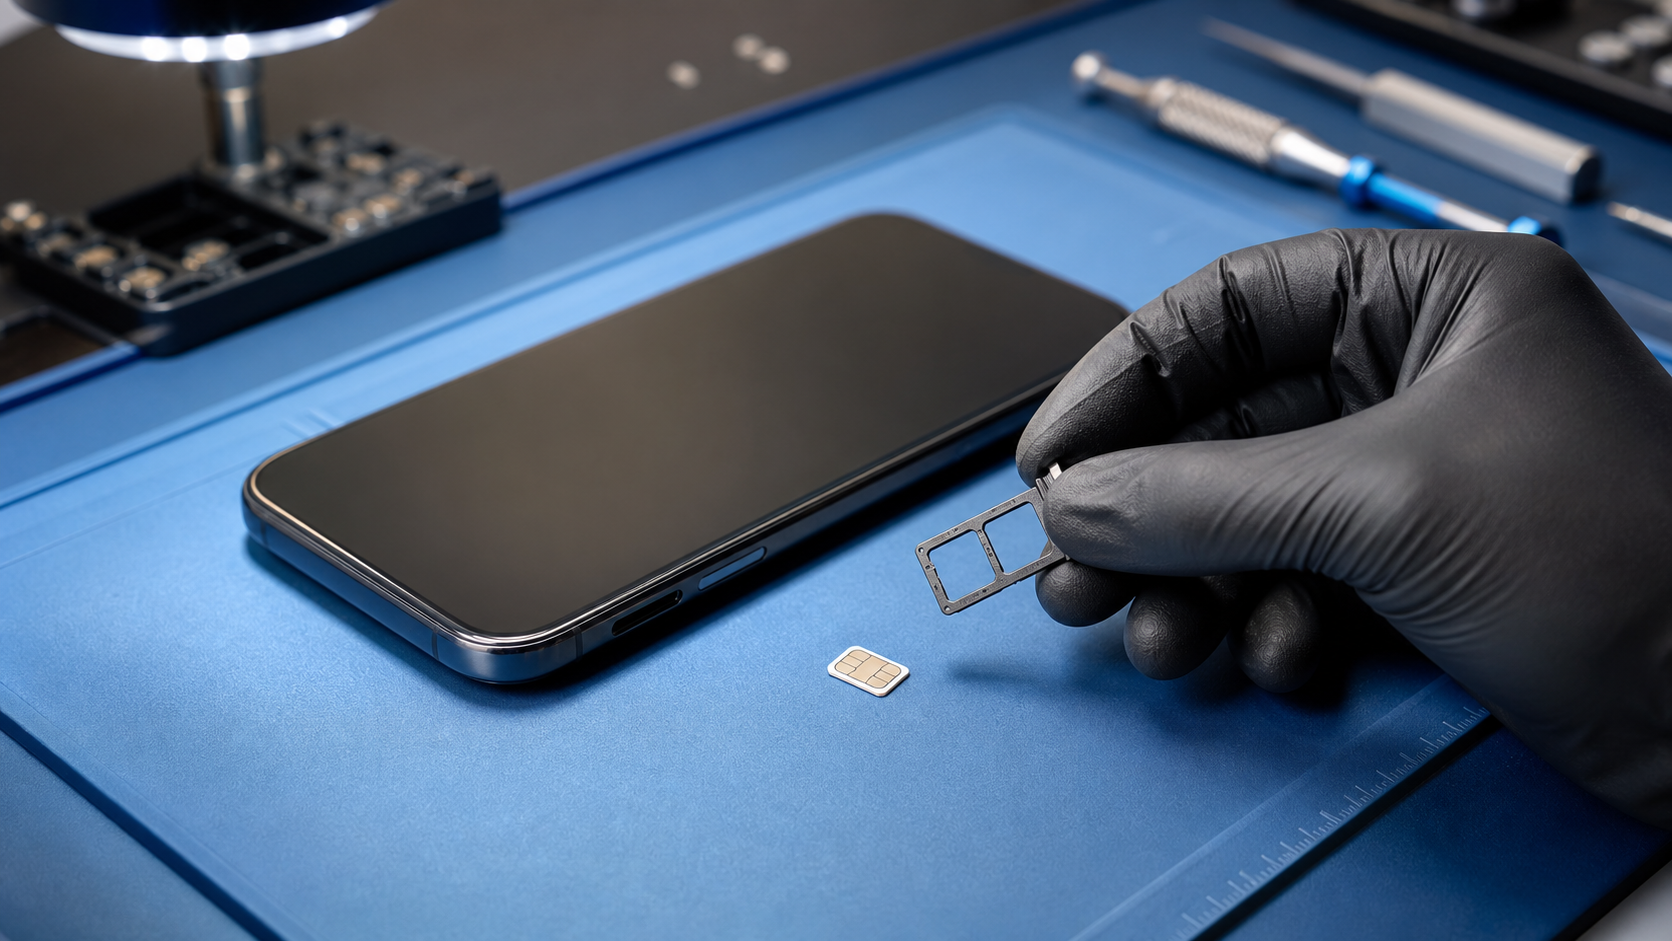
If the phone has a physical SIM tray, the phone is dry and undamaged, and you know the model’s normal removal procedure, power it down before handling the tray. Use the correct eject tool and press straight into the proper tray opening. Stop if the tray is stuck, bent, cracked, wet, or needs unusual force.
Place the tray and card on a clean surface. Check whether the nano-SIM sits flat in the correct orientation and whether the tray closes completely. Do not use a tray from a different phone model; Apple warns that a tray from another model or manufacturer may not fit correctly. Do not trim a larger card, add tape, bend the tray, or touch the metal contacts with a tool.
If the card has ordinary surface dust, Samsung recommends a soft, dry cloth. Do not use liquid cleaner or abrasive material. Reinstall the card only after the tray and phone are completely dry, then power the phone on and check the alert again.
A carrier test can isolate the card from the phone
A carrier store can test or replace a physical SIM and confirm eSIM activation. When a known-working compatible SIM is recognized in the phone, the original card or account is more likely to be involved. When the same active SIM works elsewhere but the phone detects no compatible SIM, the phone or tray may need inspection.
Do not repeatedly swap cards if the tray is loose or the phone was dropped. A worn card is usually handled by the carrier, while a bent tray, damaged reader, corrosion, or board-level cellular fault belongs on the device-diagnostic side of the problem.
Signs the phone should be inspected
Arrange a device assessment when the alert began after a drop or liquid exposure, the tray will not sit flush, the phone detects a SIM only when pressure is applied, several compatible active SIMs are not recognized, or the problem returns after carrier activation and official troubleshooting.
An intermittent SIM connection can involve the tray, contact pins, cellular components, or board connections. The useful repair question is not simply “Does it need a SIM reader?” but “Which part of the carrier-to-phone path has already been ruled out?” A technician should inspect the physical condition and test the related systems before recommending hardware work.
Prepare for carrier support or a repair visit
Back up the phone while it is stable enough to use. Record the model, carrier, exact alert, and whether the line uses a physical SIM or eSIM. Keep account passwords and carrier PINs private; enter them yourself when the carrier requires verification.
Anaheim and Orange County customers can review ACPR’s iPhone repair page or Samsung Galaxy repair page for device-specific service paths. You can also book a repair after the carrier has confirmed that the account and SIM profile are active.
For a shorter symptom overview, the No SIM support page summarizes the carrier, card, tray, and device boundaries before you choose a service path.
The most efficient next step depends on what the phone actually detects. Confirming the account, profile, card, and tray in that order can prevent unnecessary repair and give a technician a much clearer starting point when hardware inspection is needed.